Thanks to everyone who joined us for GOAT’s Learning Labs this month! We got together virtually and in person and took a look at some of the basics of power wheelchairs and their maintenance.
This month we covered several powerchair related topics!
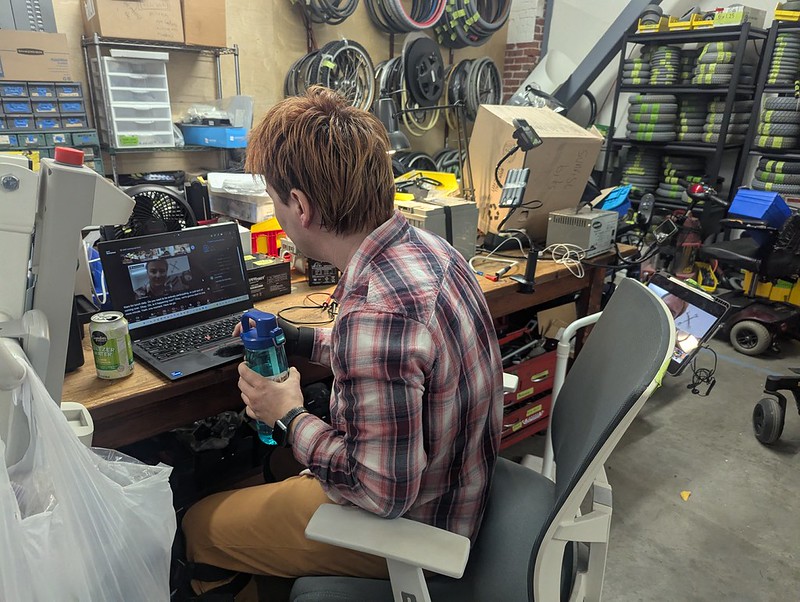
Meet the Power Wheelchair — wheelchair anatomy, drive-wheel layouts, powered seating, and how design choices affect everyday use.
Every modern power chair has the ability to disengage the brakes and roll the chair as if it were put into neutral gear. How this is enabled differs by model and brand, though it is usually some type of lever near the motors. This is a useful feature in case the batteries are completely dead, or the chair needs to be moved manually by airline staff into the cargo hold.
Power wheelchairs can be front-wheel, mid-wheel, or rear-wheel drive. This affects the user’s strategy when navigating tight spaces based on where the chair pivots. Unlike a car or scooter, the chair turns by moving the large drive wheels independently. For example, to turn right in place, the right wheel can move backward while the left wheel moves forward.
Power wheelchairs with seating functionality might be able to:
Tilt: the whole seating assembly pivots backward while keeping the seat and backrest at the same angle to each other. Good for resting and relieving pressure from sitting.
Elevate: the whole seating assembly elevates vertically. This may be useful for reaching things, getting to eye level with someone standing, or being more visible in a crowd.
Recline: the back of the chair reclines. This can be useful for leaning back and increasing the hip angle.
Elevate legrests: when combined with recline, this can allow some users to get nearly or fully horizontal to rest. Independently, or together with tilt, it can also help elevate the legs.
Wheelchair Checkup — systematic inspection and spotting maintenance issues.
Visual inspection: wear and tear, dirt, rust, debris, cosmetic damage, flat tires, damaged cables, or unexpected bends.
Tactile inspection: a “wiggle test” of armrests, headrest, joystick mount, footrests, and other accessible parts, looking for loose or missing bolts within reach.
Interactive inspection: turning the chair on and going through all the features reachable from the joystick. If the chair has lights, do they turn on? Does the horn honk? Are the seating features working as expected? This also includes driving the chair.
Auditory inspection: while the interactive test is underway, does the wheelchair sound smooth, or are there unexpected clanks, squeaks, grinding sounds, etc.?
Wheels, Casters & Hairballs — taking apart, cleaning, inspecting, reassembling, and checking wheel and caster assemblies.
We discussed accessing the wheels in order to take them off — first, they need to be off the ground. We used a wheelchair jack, adding pieces of 2×4 lumber underneath for stability.
In a pinch, other methods such as using a pry bar as a lever or, with an appropriate chair, placing it on its side can make the wheels accessible. Complex power chairs can weigh around 400 lb, so making sure the chair is stable before working on it is important!
We also practiced paying attention to the order of washers, spacers, axles, and other hardware so that everything goes back together correctly. Pro tip: Take a photo of things before taking them apart, or even record a video!
We also used extension bars to help wrench stuck bolts. The longer the pipe used as an extension – the less force needs to be exerted in order to dislodge the bolt. And remember righty-tighty, leftie-loosey or in other words – clockwise turns tighten the bolts and counterclockwise loosen them.
Power Chair Batteries 101 — battery-system basics, safely accessing and reconnecting batteries, and using a multimeter for basic voltage checks.
A critical safety tip when working with batteries is not to short the terminals. Dropping a metal wrench across battery terminals can result in sparks, a rapidly heating wrench, burns, and other injuries.
Most complex power chairs use SLA (sealed lead-acid) batteries. These batteries can generally stay installed in the chair when it goes into an airplane’s cargo hold and are usually treated as non-removable (battery certificate examples). Some modern lightweight power chairs without complex seating use lithium-ion batteries, similar to those in laptops and smartphones. These are often designed to be removable, and most of the time a removable lithium battery needs to be taken out of the wheelchair and carried into the airplane cabin rather than put into the cargo hold.
Most power chairs use two 12-volt batteries connected in series, so the chair gets 24 volts.
Using a voltmeter in DC mode — batteries provide direct current, unlike a household power outlet — to check the voltage of each battery can be a useful diagnostic tool. A voltage reading by itself does not tell us everything about the health of a battery, but it can be a good diagnostic tool.
When the batteries are installed in the chair, measuring at the XLR charging port can show the voltage of the whole 24 V battery pack. Watching that voltage while the chair is doing something demanding, such as going uphill, can be especially useful because voltage sag becomes more significant as batteries age or fail.
Battery capacity is measured in Ah (amp-hours). A scooter is likely to have smaller batteries with fewer Ah, while a complex power wheelchair might have large, heavy batteries around 75 Ah.
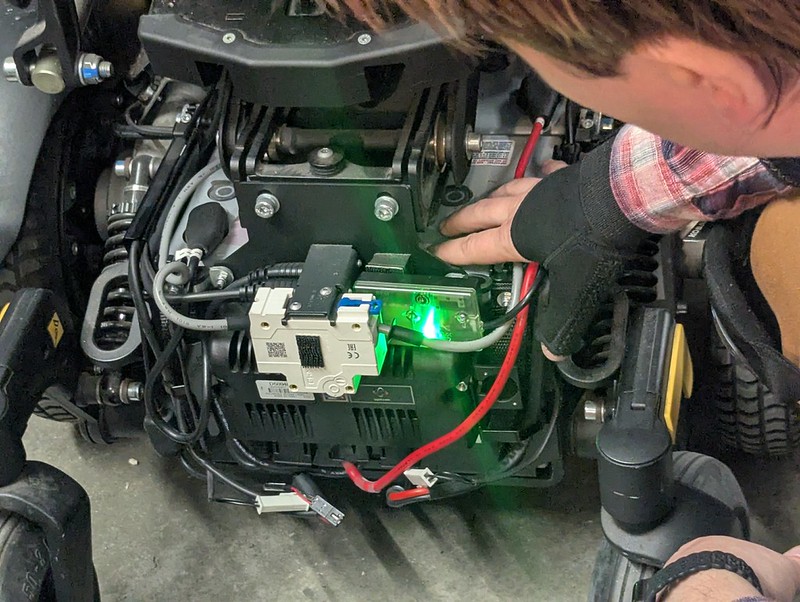
We then opened a Permobil M3, disconnected the power-module wires that were in our way, pulled out the battery compartment, and replaced the batteries. Because the Permobil-brand batteries and the replacement MK batteries had terminals in different locations, we had to adjust the wiring according to the schematic printed on the back shroud. Most power chairs should have a wiring diagram somewhere on the chair, but the simplest rule to remember is: black/negative (–) wires connect to the battery terminal marked “–” or “NEG,” and red/positive (+) wires connect to the terminal marked “+” or “POS.”
For battery longevity, regular charging is important. For a chair that is used daily, charging overnight is a good general habit rather than routinely running the batteries very low. Backup chairs and chairs in storage also need periodic or maintenance charging rather than being left discharged for long periods. We’ll be collecting more information on this topic because battery technology and charging recommendations have been changing quite a bit.
We’d love your feedback as we plan future Learning Labs. What worked well? What would you change? And most importantly: what would you like to learn, practice, troubleshoot, or take apart next?
You’re welcome to reply even if you didn’t attend the labs — ideas for future topics are very welcome.
Thanks for learning and tinkering with us!
– Olga, GOAT Learning Labs
Leave a Comment