I want to share two new funding opportunities for disability led, disability justice focused nonprofits! DIF x Tech and Collab Grants RFPs are up on the Borealis Philanthropy website. Please read the details, and if you have questions, please register for the presentation and Q&A session; it will be April 15, 11am PST/1pmCST / 2pm EST.

Borealis’s Collab Grants are for disability justice collaborations between two or more organizations. You can read about the details at that link. The basics: If you are a nonprofit with a disability justice focus, and want to work on a project in collaboration with another organization that fits the description in the info about the Collab Grants, then take a look — this might help you create a great collaborative relationship and contribute to general movement building and power.
The second opportunity is focused on disability and tech. DIF x Tech invites proposals at the intersection of technology and disability rights and justice.
- DIF x TECH 2026 application
- Application Deadline: May 20th, 2026, by 8:59 pm PT or 11:59 pm ET.
For the Disability x Tech grant, here’s more details for you now.
This opportunity may be a good fit if you are doing work in any of these areas below:
- Disabled people sharing technical skills and knowledge with others in the community.
- Disabled people leading policy, rights, and disability justice activism work related to tech.
- Disabled people participate in all stages of the design and development of new tech that will enrich lives of people with disabilities.
- Enabling collective and equitable access to technology and to digital infrastructure.
- Expanding the participation, leadership, and thought partnership of overlooked and under-resourced people with disabilities in all areas of the technology sector.
- Partnerships between disability-focused engineering design labs and maker spaces within schools, centers for independent living, or local nonprofit organizations.
That might be a bit confusing! To see what DIFxTech funds, please look at some of the organizations that are currently funded by DIFxTech. You can “click through” to read a little about their work!
Here’s a partial list of current DIFxTech grant recipients and what they do:
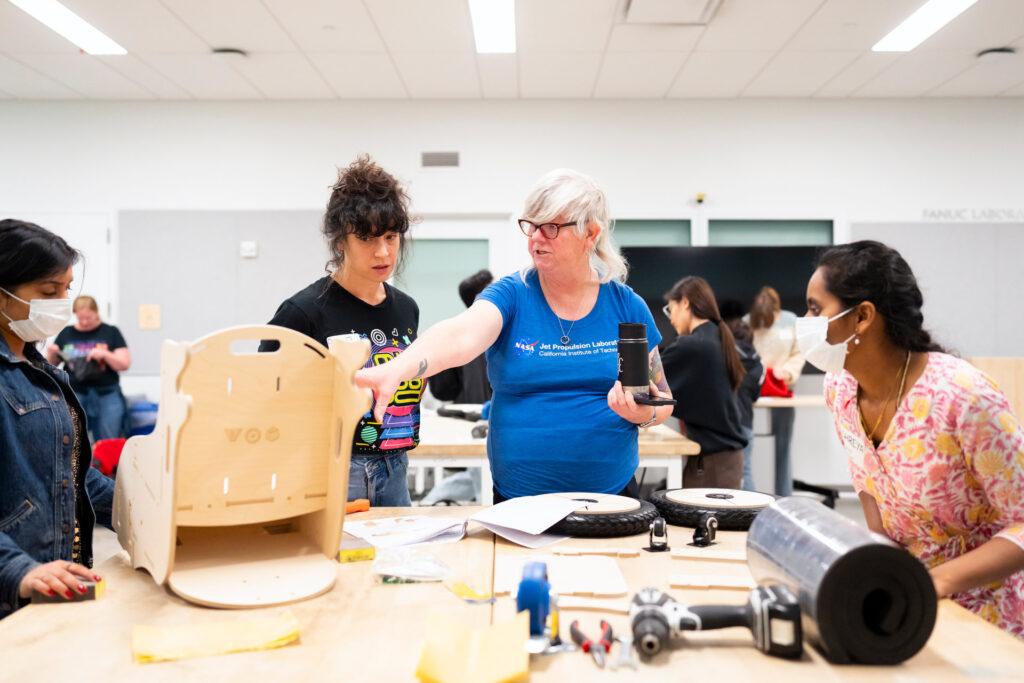
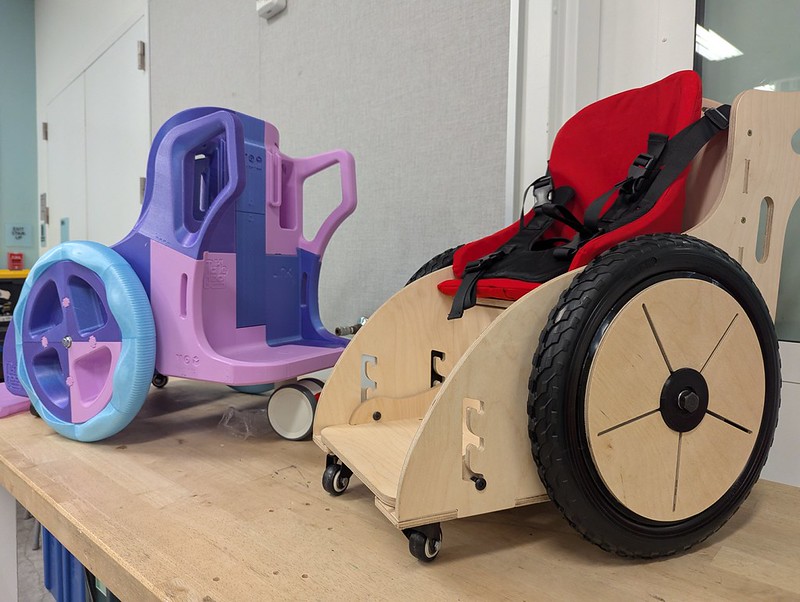
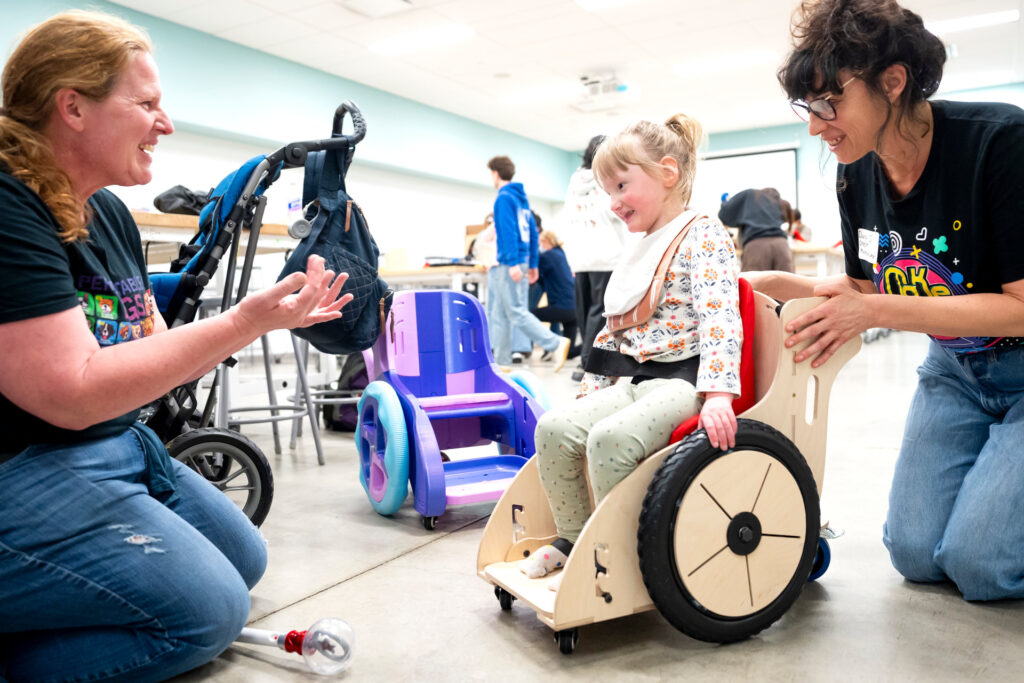
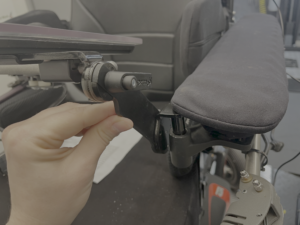
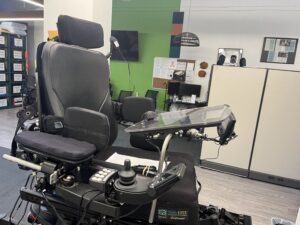
- Designing and building 3D printed wheelchairs for young children (Make Good)
- Deaf/blind TV production studio workshops (Visionaries of the Creative Arts)
- Maker spaces and tech/STEM education by and for Deaf people (CymaSpace)
- Improving video conferencing software for disfluent speakers (AImpower)
- Policy advocacy for assistive and augmented communication users (CommunicationFIRST)
- Deaf scientists and educators who are creating online courses to bring STEM education alive in ASL (Atomic Hands)
- Identifying and fighting algorithmic biases that harm disabled people (DREDF, Bazelon)
- Tech education and internet access for residents of assisted living facilities (Alliance for Community Services)
- Plain Language Policy Dashboard, making new legislation more accessible (New Disabled South)
And just to be super clear and transparent: I’m the Program manager for Disability x Tech at Borealis! You can ask me questions about the grant program directly at difxtech@borealisphilanthropy.org.
Cheers, Liz
Note: image from https://commons.wikimedia.org/wiki/File:Cartoon_Guy_Being_Handed_Money_By_A_Computer.svg, edited by hand to make it look like a wheelchair not a desk chair
Leave a Comment