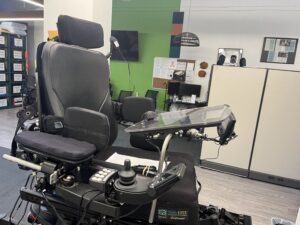
Our March Tune Up was at the Disability Cultural Center in SF. Now that we have a regular monthly cadence for these events, I printed and distributed flyers to pass out on the street.
I learned some things from my stroll down Mission from 24th Street BART station to 16th, talking with every wheelchair user I met along the way. Everyone needs maintenance on their chairs. Everyone’s front casters are shot. They rarely have their own tools. I found that if I exchanged contact info with people i talked with, then remind them about the Tune Up event, they are more likely to show up. When people got their equipment from donations, they are not likely to know where to go for maintenance.
On the day of the event I also canvassed Civic Center and UN Plazas. The result of that was several guys in powerchairs following me back to the DCC and one arriving a bit later. I had the feeling like we were a powerful brigade of little tanks rolling together in the sunny and beautiful day!
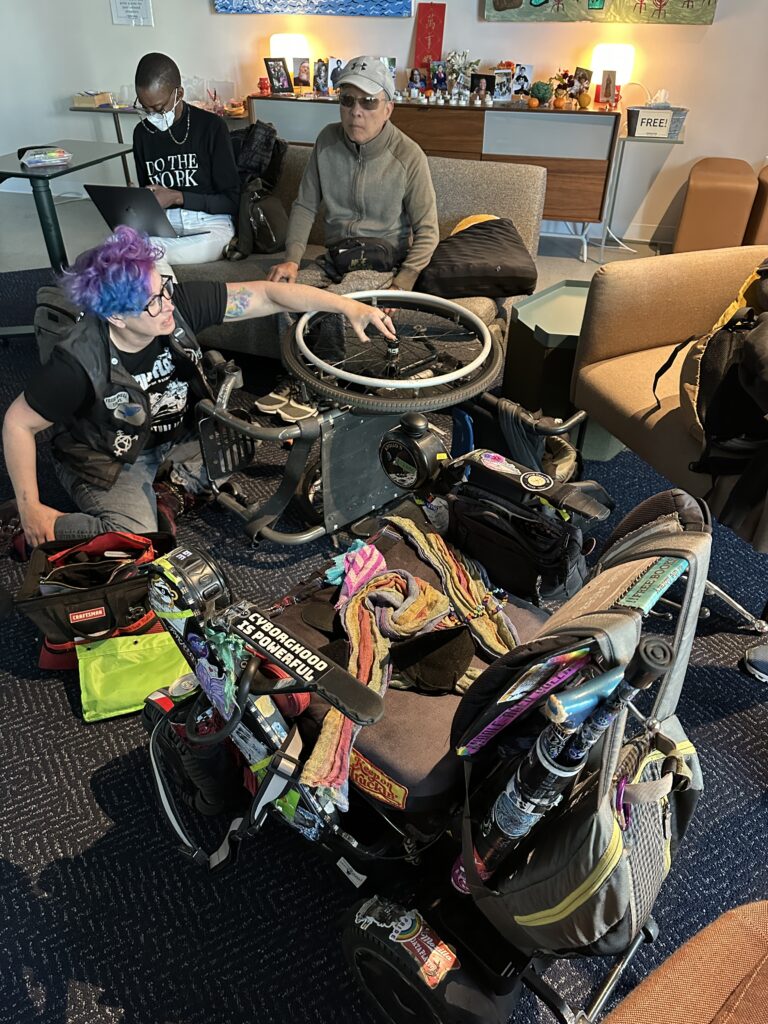
We ended up with 12 participants, I passed out toolkits to 11 of them, and we spent the next three hours hanging out, chatting, having snacks, and trying to either fix issues, experiment with modifications, or make lists of deeper problems to address. Vince from ILRCSF, our actually experienced wheelchair tech, was great help and followed up with several people the next day for replacement front casters, new (donated) batteries, and other things. We all get to listen in as he calls vendors and manufacturers for information, learning from his approach. C. from last month’s Tune Up showed up — with her front casters replaced thanks to Vince!
A lot of hair and gunk was removed from wheels, all around!!!! I think we need an entire session for Hairball Day and compete to see who can collect the most disgusting combo of greasy, dirty, pet and human hair.
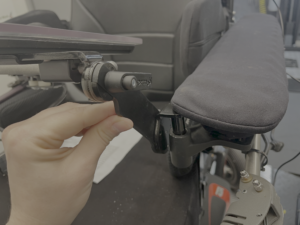
A side function of Hairball Day is that everyone learns the parts of the chair. Axle, caster, and most importantly… bearings. I now kind of compulsively nag total strangers to protect their bearings and to replace the end caps that should protect those bearings from water and grit.
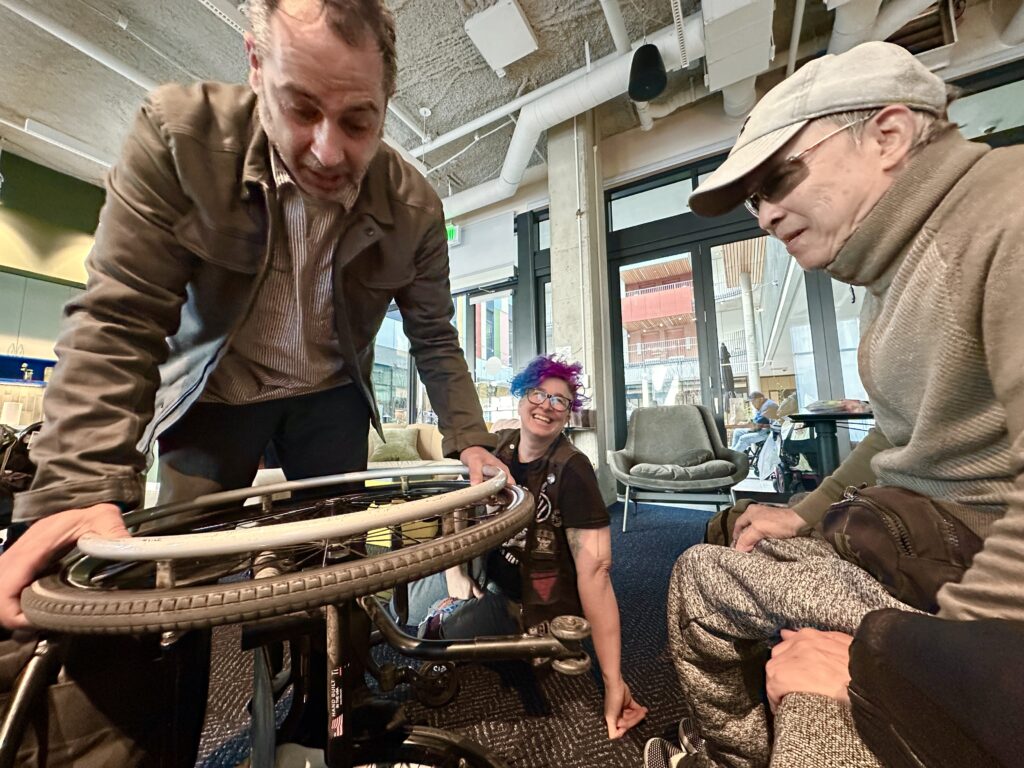
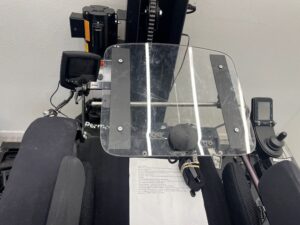
One person who came with a very nice Ti Lite manual chair ended up with 4 of us on the floor trying to remove one of his quick release wheels. It was NOT quick and it was not releasing! The next move really would have been to bang it lightly with an actual sledgehammer, which we weren’t prepared for, and neither was the chair’s rider! This turned out to be his old chair. He has an “identical” new one but likes the old one better. Maybe this sounds funny to you, but I do the same thing. It feels just slightly wrong to use the new one when the old one still works and it’s more familiar. But in this case the solution really was, Please use your new chair, and bring the old one in to have a little spa day with the sledgehammer so that the quick release wheel (and maybe the entire axle assembly) can get replaced.
I adjusted the brakes and other bits of someone’s tall rollator, and Emma from GOAT and volunteers from Streets Forward helped to adjust the center of gravity (CoG) of another manual chair.

My flyers promised cup holders, but I forgot to bring them!
I need to organize a much better, and smaller, tool bag for myself to bring to events. I am eyeing the kind that open up and show everything neatly stashed away. It would be nice not to have my tools “explode” over all the surface area of our work space!
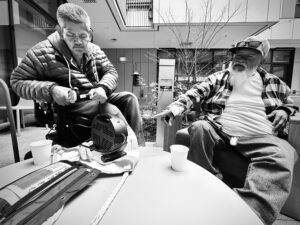
Community strength was coming through in our event. We had some quality snacks and free coffee and tea thanks to the DCC. (Maybe I’ll come through and make cookies next time!!!) We were loafing on the couches, hanging out in the pleasant patio among the plants, charging up our powerchairs and phones.
For many years I have noted that when I talk with a wheelchair user about maintenance and repair, it is very likely to elicit difficult stories. My own nightmares are often about my wheelchair going missing or breaking underneath me. The stories people tell of stress, fear, pain, frustration, loss of independence, loss of their own health as well as mobility, from their chairs breaking, are of deep trauma.
With that in mind, what we are doing is healing for us as people, we are healing our own relationship with our tech and making something scary and bad turn to, I can even use the words joy or celebration. We did not fix every problem that afternoon. But we paid attention, listened, took notes, and got the ball rolling. We took something that feels like an unpleasant and risky chore that is disempowering, and made it a little party that helped us all feel agency and power and friendship.
I hope everyone will come back! Our next event is April 7 at the DCC.
That kind of community and solidarity is what we want to build!!!
Leave a Comment

 GOAT is now co-hosting monthly wheelchair maintenance workshops along with Vince Lopez from
